Creating beautiful portrait nail art can be challenging, even for experienced beauty professionals. What’s more, it requires patience and precision to get the perfect end result! But don’t let all these challenges put you off trying – with the right hints and tips at your disposal, portrait nail art can be surprisingly straightforward. In this blog post, we’re going to share our top tips for mastering this tricky but rewarding skill so that you too can start creating stunning designs in no time. So grab your tools and keep reading to find out how to master portraiture nails like a pro!
Creative ways to show off your personality with portrait nail art
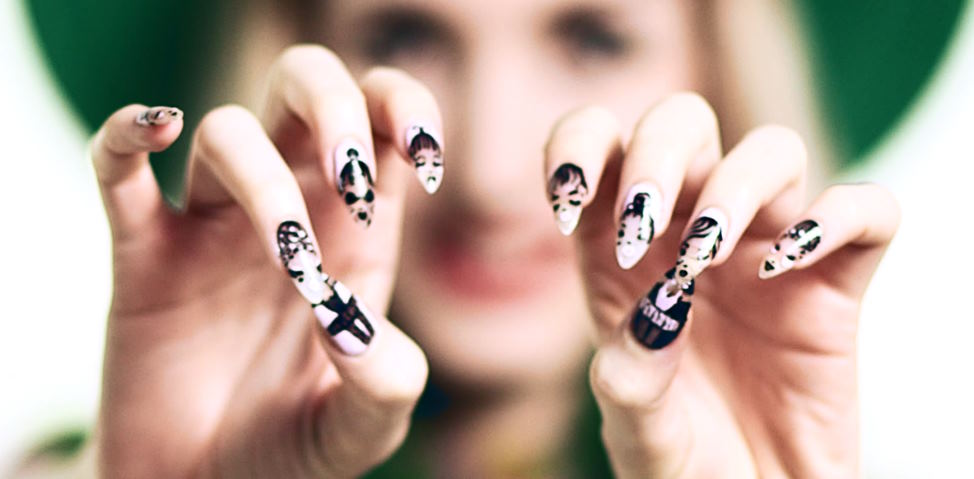
Portrait nail art can be a great way to show off your personality. You don’t have to settle for generic designs – instead, you can get creative and create something that is unique and reflective of who you are. Here are some ideas for how to do this:
- Personalize Your Nail Art – Make sure the portrait you choose has meaning to you, whether it’s a picture of your favorite celebrity or an iconic image from your favorite movie or TV show. You can also use photographs of yourself or loved ones as inspiration for the design.
- Use Symbolic Colors – Choose colors that represent different aspects of your personality or values. For example, if green is one of your favorite colors, you could use it to represent growth, while blue might symbolize understanding or peace.
- Use Patterns – Incorporate patterns and shapes that reflect your interests and passions into the design. For example, add symbols of music notes or instruments to the portrait if you’re a musician. If you love animals, incorporate images of them into the design.
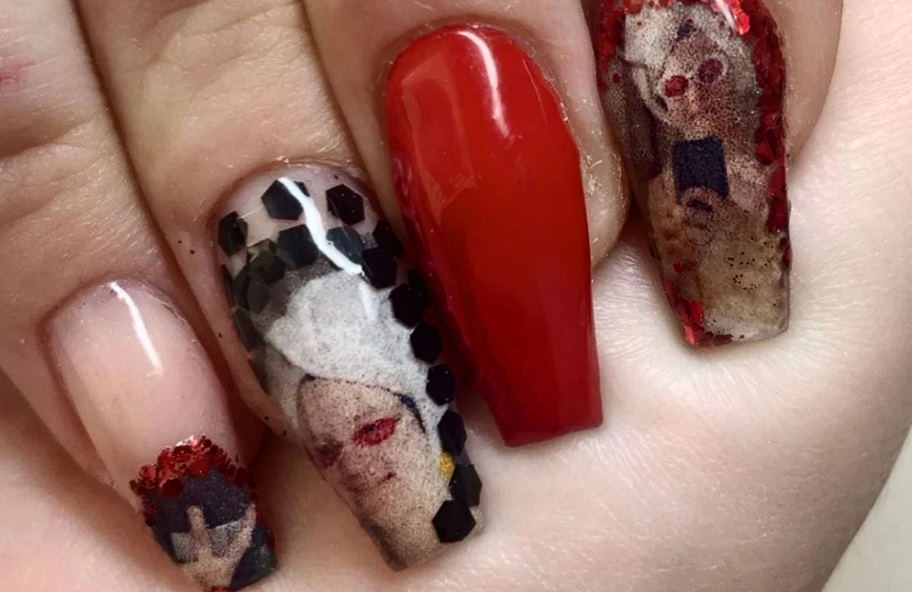
- Add Accessories – Accessorizing can also be a great way to show off your personality through nail art. Consider adding charms or rhinestones that represent something important to you – from religious symbols to meaningful words and phrases.
With some creative thinking and artistic skill, portrait nail art is a great way to express yourself in a unique and eye-catching way. So don’t be afraid to get creative and show off your personality through nail art!
How to create portrait nail art designs
- Preparing your Nails: The first step to creating portrait nail art designs is properly preparing your nails. This includes filing, buffing and cleaning them to ensure a smooth canvas for the artwork.
- Choosing Your Design: Once your nails are ready, decide on the design you want to create. If you’re an experienced nail artist, this should be easy; if not, look online for inspiration! Choose a design that fits each nail size’s constraints—smaller details may get lost on larger nails, while larger images may require multiple nails.
- Gather Your Supplies: You’ll need a range of supplies to create portrait nail art designs, including acrylic paints, nail art brushes, tweezers and water-based top coats. Also, don’t forget to pick up a few thin-tipped pens for drawing intricate details.
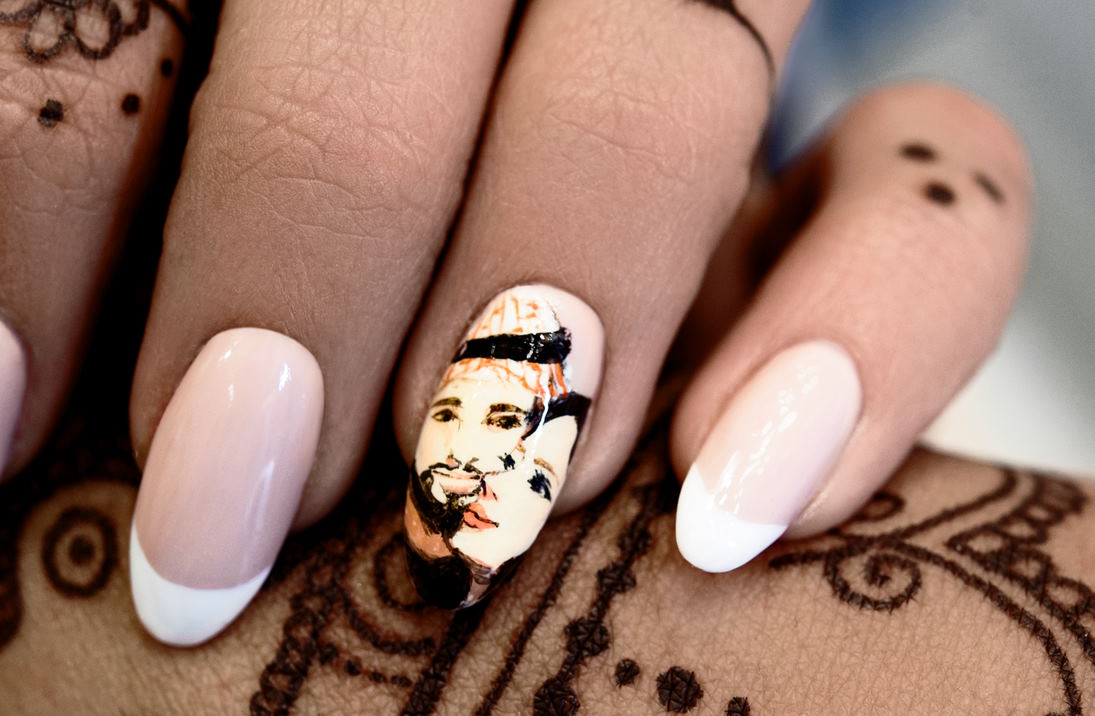
- Start Painting: Begin by outlining the design onto your nails using the thin pen or a brush dipped in paint. Once you’ve drawn your outline, use either tiny dots of acrylic paint or thinned out colors with a brush to fill in the image. Next, use tweezers to add small details like flowers, stars and other embellishments.
- Seal Your Work: Finally, once you are happy with how the design looks, seal it all in with a water-based top coat to ensure that it stays put! Voilà—your portrait nail art is complete!